
My daughters both love to journal. They fill their books with all sorts of stories, notes, lists, dreams, and drawings. And, there is nothing quite like a brand new journal for them to fill. But what's even better is when they've made the journals themselves from recycled materials found around the house.
Try making a DIY journal with your kids to encourage their writing, drawing, collecting, thinking and creativity.
What You'll Need
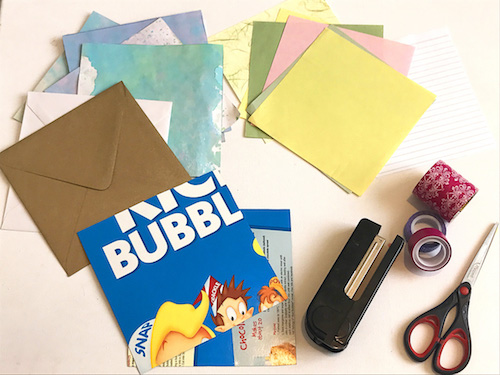
- Cereal box
- An assortment of sheets of papers (colored paper, scrapbooking papers, previously made artworks, unused pages from notebooks, recycled paper bags, etc.)
- 2-3 envelopes (to form "treasure pockets" inside the journal). Envelopes can be previously used.
- Pencil
- Ruler
- Scissors
- Stapler
- Tape (decorative tape is preferred)
- Markers
How to Make the Journal
Step 1: Decide what size your journal will be. (We used the size of our treasure pocket envelopes as our guide.) Have your child cut both a front and a back cover from the cereal box cardboard. From the variety of papers you've collected, stack a batch together to serve as the inside pages of the journal. Invite your child to then trim all of the pages to fit uniformly in size inside the covers.
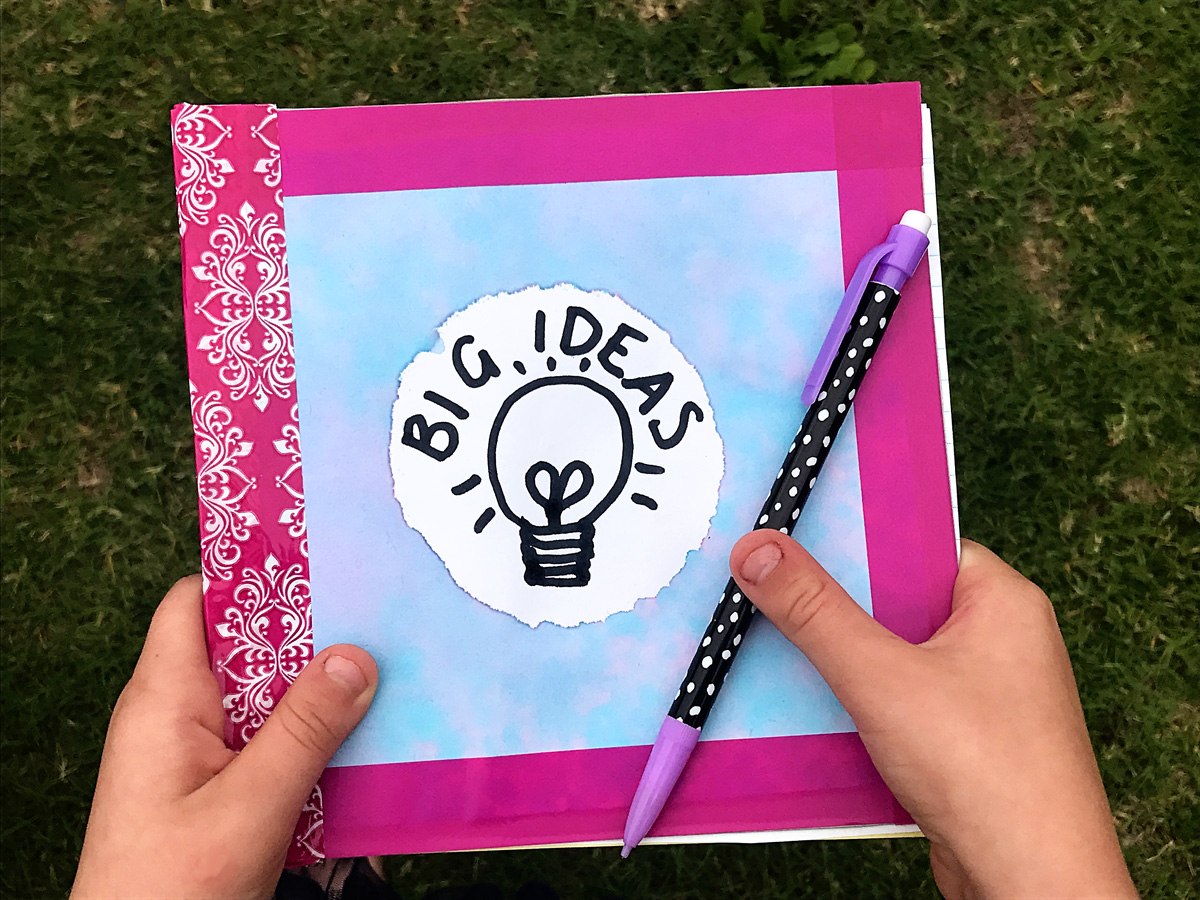
Step 2: Have your child decorate the front cover of his journal. My daughter taped a pre-loved artwork onto the front cover of her's and added a label with a black marker. Alternatively, your child could use decorative tape or paint or draw directly onto the cardboard.

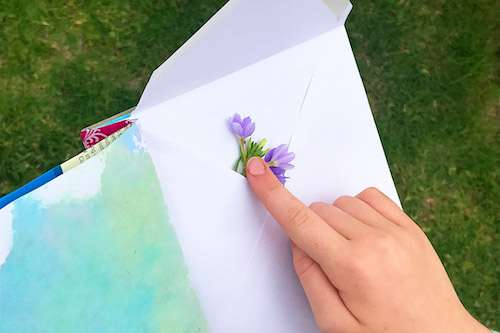
Step 3: The envelopes will serve as "treasure pockets" for your child to collect special mementos. Have her sort the inside pages and envelopes into an order she's happy with. The treasure pockets can go on the inside of the front and/or back covers, or on random pages inside the journal.
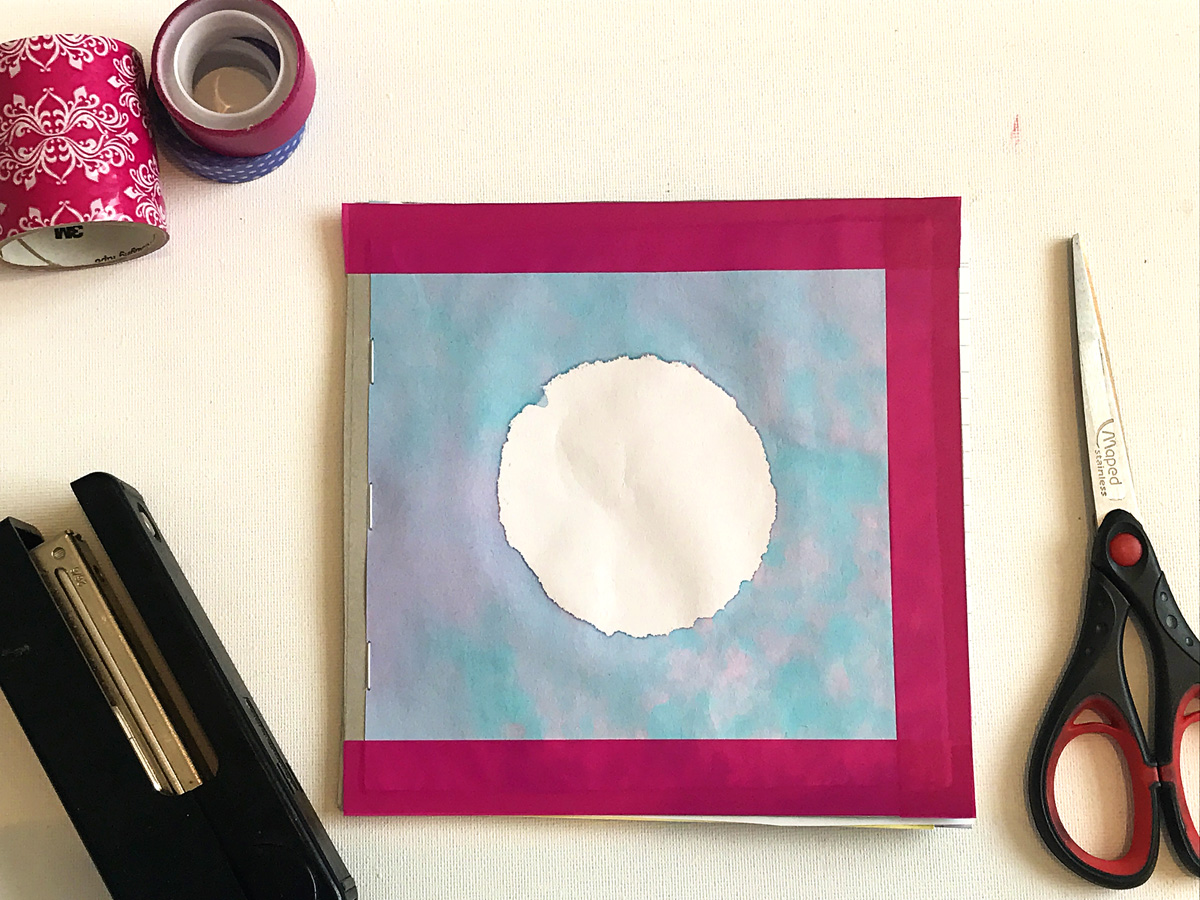
Step 4: Help your child line up all the pages inside the front and back covers and staple along the book spine. She can then cover the staples along both the front and back of the journal spine with strips of tape.
Once complete, your child’s journal is ready to be filled with ideas, thoughts, and feelings. Plus, he can store little treasures in the pockets (flowers, leaves, notes, wrappers, found objects, etc.).
If your child love journals as much as mine do, she probably won’t be able to stop at making just one!